info@classy.studio
 +92 315 3546728
Let me confess something! My first-ever YouTube recording sounded like it was filmed inside a washing machine.
Think of the echoes everywhere. Keyboard clicks. A fan was humming in the background like it was auditioning for a solo. (Pun Intended). After years of trial, error, coffee-fueled editing sessions and a few visits to a professional song recording studio, I have learned one powerful truth:
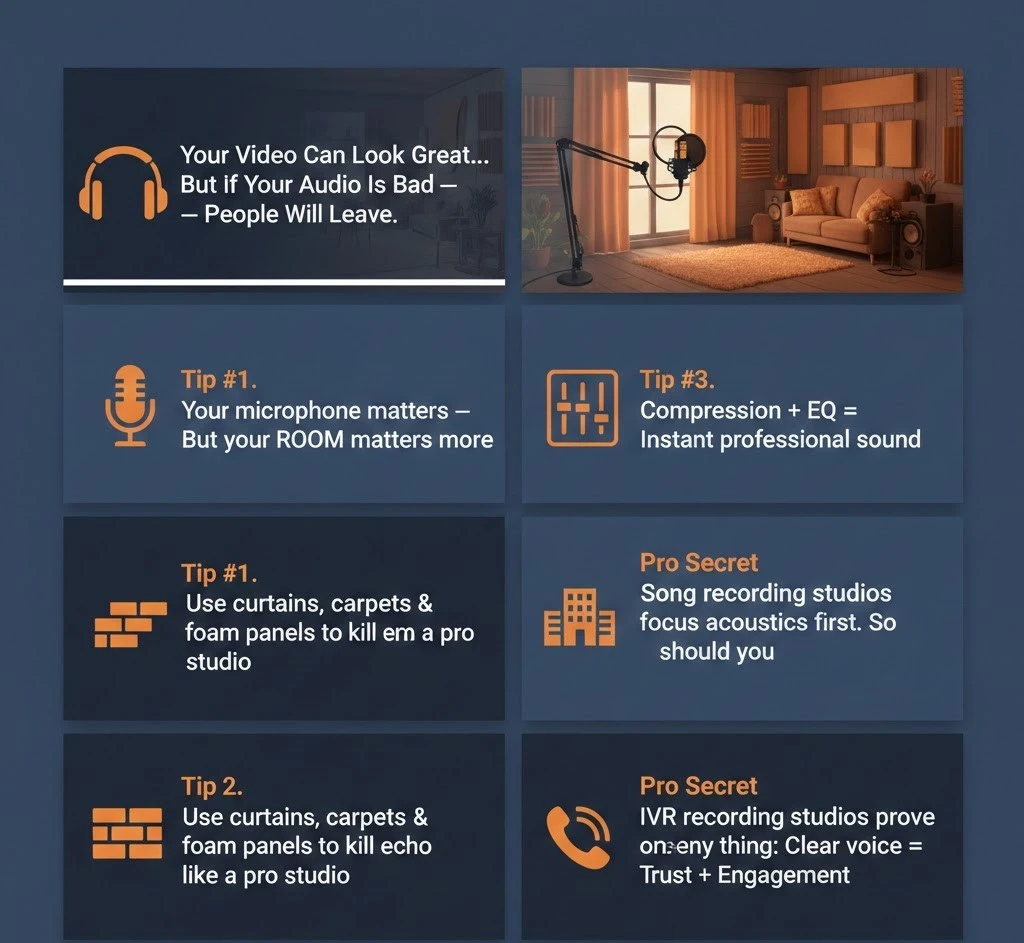
Great Audio Beats Great Video Every Single Time.
Always remember that viewers will forgive a slightly blurry frame. However, they will bounce faster than a bad Wi-fi signal if your audio hurts their ears. However, whether you are a first-time podcaster, a voice artist, or running projects, it is going to take you some time to get the hang of how to set up the audio.
In this blog, we will provide you with some incredible tips regarding audio recording, which can help you sound pro even if you are on a tight budget.
What are you waiting for? Let’s dive straight into it.
Top Audio Recording Tips for Podcasters & YouTubers
1. Your Microphone Is Important… But Not That Important
There is no doubt that the gear matters. However, that does not mean that you need to sell a kidney to buy a $1,000 mic.
That’s just a waste of money, especially if you are a beginner.
When I upgraded from my laptop mic to a basic USB condenser microphone, my audio quality instantly jumped by 70%. And when I upgraded again to an XLR mic with an audio interface, it improved. However, not as dramatically as I expected it to be.
Well, lesson learned. No more investing a lot of money on equipments if the basics work just fine.
Room treatment and mic technique matter more than the brand names.
Here are my recommendations:
My Recommendation
- Always start with a good USB mic if you are new
- Additionally, move to the XLR+ interface when you grow.
- Make sure to spend money on your environment before chasing studio-grade equipment.
Always remember, even in a professional song recording studio, the engineers focus more on room acoustics than fancy mics. That should tell you something.
2. Treat Your Room Like It’s a Mini Studio
Here comes another tip. One of the mistakes that beginners make is that they do not treat their room like it is a mini studio. Instead, without any changes, they just start recording.
This is where they lose the game.
Why?
Bare Walls = Echo City
Hard Floors = Sound Bouncing Everywhere
Empty rooms = Reverb nightmares.
The good thing is that you do not need the expensive panels to start. I once recorded in a bedroom surrounded by pillows and blankets. The good thing is that it worked shockingly well.
Here are some easy diy fixes that you can use:
- Make sure to hang the thick curtains
- Furthermore, use carpets or rugs.
- Also, place foam panels behind your mic
- Always record the clothes in a closet
You will probably see the professional IVR recording studio setups use some heavy acoustic treatment becuase voice clarity is everything. Hence, you should aim for that same, clean, dry sound.
3. Mic Positioning: Inches Matter
One of the grave mistakes I made for months was putting the mic directly in front of my mouth.
What did I get?
POP…POP….POP…. hello, plosive city.
The sweet spot is:
- Make sure to place the mic 6-8 inches away
- Additionally, make sure that it is slightly off to the side of your mouth.
- Also, make sure to angle it toward your face and not straight at your breath.
Bonus tip: Always make sure to use the pop filter. Not only is it cheap, but it also saves lives (Well, hypothetically the audio lives)
4. Silence Is Your Secret Weapon
Before you even start recording, make sure to stop and listen. Ask yourself, did you hear:
- Ac noise
- Laptop fan
- Traffic
- Dogs practising opera outside (hehehe)
If you hear it, you need to kill the noise before hitting record.
What works the best?
- Make sure to turn off the fans and AC temporarily.
- Record during quiet hours
- Use noise reduction only lightly in editing.
Thus, in any of the song recording studios, silence is sacred. Therefore, you need to adopt that mindset at home.
5. Record Louder Than You Think (But Don’t Clip)
While recording, you want strong signal levels without any distortion. Thus, you should aim for:
- Peaks around -6dB
- Average speaking around - 12dB
Also, if your waveform looks like a tiny worm (yes, that is true) then you are too quiet. Similarly, if it is smashing into the top and bottom of the track, congratulations - you’ve invented the digital distortion.
Always remember that the balanced input saves editing time and preserves audio quality.
6. Use Headphones While Recording
This tip is an absolute lifesaver, as it changed everything for me. Always make sure to use the headphones as monitoring your voice in real-time lets you:
- Hear background noise instantly
- Catch mouth clicks
- Furthermore, fix mic distance problems.
Additionally, in professional recording studio environments, voice artists always monitor themselves. It is one of the easiest upgrades you can make.
Here is the pro tip:
Always make sure to use the closed-back headphones to avoid sound bleeding into your mic.
7. Edit Like a Pro (Without Overdoing It)
Editing is the stage where your audio goes from “meh” to “wow”. Howeverm even the over-editing is dangerous.
That is why I followed through the simple editing chain, which looks like:
- Noise reduction (light touch)
- EQ (cut low rumble, boost clarity
- Compression (even out volume)
- Limiter (prevent peaks)
That is it. No 20-plugin madness. You can think of it like cooking, add seasoning, but not the whole spice rack that can ruin your dish.
8. Compression: The Secret Sauce
Compression does make your voice sound consistent and professional. However, without compressio,n it can feel like:
- Loud parts are too loud
- Soft parts disappear
Similarly with compression:
- Your voice stays balanced
- Listeners don’t have to adjust the volume.
Well, this is the standard practice that every professional audio recording studio and broadcast setup follows. So, once you hear the difference, you will never skip it again.
9. Consistency Beats Perfection
Here is something no one tells you. Well, you do not need the “perfect” audio. Instead, you need the consistent audio. Also, listeners love familiarity. If your sound changes every episode, it honestly breaks the trust. Therefore, you have to be consistent with the:
- Mic position
- Room Setup
- Editing settings
- Recording time and environment.
This is how the professionals maintain their brand voice quality across thousands of recordings you listen.
10. Backup Everything (Because Tech Hates Us)
Let me tell you a small secret. I once recorded a 90-minute interview ….. And forgot to press record.
That’s what pain, real pain, is.
Therefore, now my current system consists of the following:
- Primary recording in the software
- Backup recording on an external device
- Cloud sync after the session.
Thus, if you are doing paid voice work or long-form podcasts, backups are non-negotiable.
11. Don’t Ignore Vocal Performance
Let’s be real! The gear will not fix bad delivery. Therefore if you want to make your sound better than make sure:
- Record while standing up
- Smile while recording, as it can change your tone.
- Speak slower than you think
- Breathing from your diaphragm.
Always remember that your voice is an instrument. Therefore, tune it.
12. Music, Intros & Outros: Less Is More
Honestly, the background music can definitely elevate your brand or even destroy your clarity. Therefore, there are some rules for this. The ones I follow include:
- Keep music low like -20dB under voice
- Furthermore, avoid busy tracks
- Fade in and out smoothly
Remember, your voice is the star. Also, your music is the backup dancer.
13. Learn Basic Audio Science (It Pays Off)
Well, for recording, you definitely do not need a degree. However, understanding some of the basics can help you out, like:
- What is EQ?
- What does compression do?
- What is the noise floor?
- Why does room echo happen?
Knowledge saves money.
14. Practice Listening Like an Engineer
Here is the fun exercise:
Make sure to listen to your favourite podcasts and YouTubers. Also, ask yourself questions like:
- How clear is the voice?
- How loud is the background music?
- How consistent is the volume?
Train your ears, as it is the fastest way to improve.
15. When to Use a Professional Studio
Sometimes the home setups can definitely hit the ceiling. Therefore, if you are:
- Recording music
- Producing ads
- Creating brand voice content
- Doing IVR prompts
Then, using a professional IVR recording studio can elevate your output instantly. They have high-end microphones, treated rooms and experienced engineers who can remove the technical stress so you can focus on performance.
Final Thoughts: Sound Like a Pro Without Losing Your Mind
That is it for today, folks.
After years of recording mistakes, awkward re-takes and midnight editing sessions, here is my biggest takeaway.
Great audio is not about being expensive. Instead, it is about being intentional.
Therefore, control your environment, understand your tools, and respect your listener’s ears.
Whether you are recording YouTube videos, podcasts, music, or voiceovers, these tips are the same. And remember, the creators you admire now once recorded terrible audio too. The difference?
They kept working on it.
Now go hit and record!