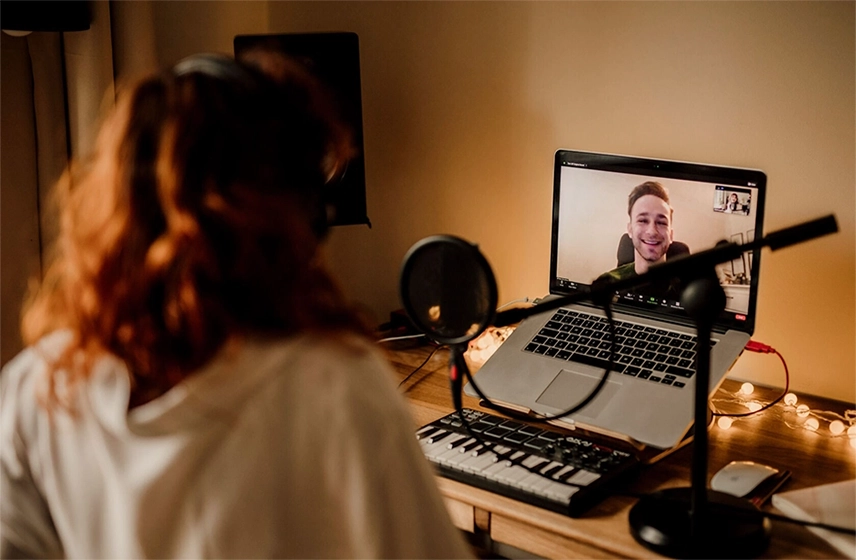
Do you want to master your Naat audio like a pro but have no clue what to do? Read this blog to the end, as we will guide you through the steps for audio mastering.
Recording a naat with heartfelt emotion is only half the journey. If you truly want to move hearts and souls, your final audio must be polished, clear, and professional.
Whether you are an emerging Naat Khuwaan recording from your bedroom or using a small studio setup in Karachi, learning how to master your Naat audio can make a big difference in how your recitation is received.
If that’s what you want to know, then you're in the right place. This blog will walk you through the steps to master your audio like a pro.
Come on! Let’s get started!
What is Audio Mastering?
Before we delve into the tips on how to master your Naat audio, it is essential to understand what audio mastering is.
In simple terms, audio mastering is the final step in the audio production. It makes sure that your naat sound is consistent across all devices - whether it is being played on a home speaker, mobile phone, or at a significant event.
Furthermore, mastering also enhances volume, clarity, and emotional depth, making your recording sound professional and uplifting. However, audio mastering can be challenging. You need to follow different steps.
Steps for Mastering Your Naat Audio Like A Pro?
If you want to master your Naat Audio like a pro, then here is what you need to do:
- Start With A Clean Recording
- Use The Right Software
- Apply EQ
- Use Compression
- Add Reverb - But Gently
- Normalise and Limit
- Export in the Right Format
Come on! Let’s delve into each of these steps in detail.
Start With A Clean Recording
Before you begin audio mastering, ensure that the raw audio is clean. Furthermore, consider using A-grade tools and equipment, such as USB microphones or Budget Condenser Microphones.
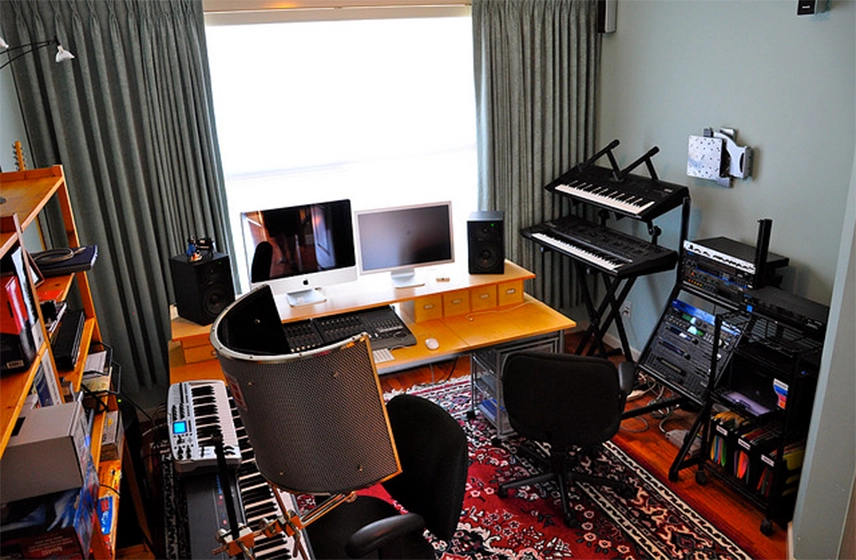
Also, ensure that you record in a place with minimal background noise. It is better to rent out the Naat Recording Studio in Karachi for better vibes and to spark your creativity. However, if you have decided to record at home, here is what you need to do:
- Speak clearly and avoid clipping.
- Furthermore, turn off the ACs.
- Use a pop filter to reduce P and S sounds.
Remember, you can’t fix the bad recording. Instead, only master the good one.
Use The Right Software
The next step is to use the correct software. To master the Naat, you require a Digital Audio Workstation (DAW). Additionally, make sure to pick the user-friendly ones. Here are some of our recommendations:
- Audacity (Free)
- Adobe Audition
- FL Studio
- Logic Pro.
For beginners, Audacity is the best option. Not only is there no cost, but it is also beginner-friendly.
Apply EQ
The next step is to apply an equalizer.
Why?
Well, EQ helps balance the frequencies in your voice. Furthermore, when using it for your Naat recitations, it helps ensure that your sound is clear and polished.
Here is what you need to know about this:
- Low Cut (80–100 Hz): Remove unnecessary noise.
- Midrange (500 Hz – 2 kHz): You have to focus more on this as it is the heart of your voice. Furthermore, adjust carefully to maintain clarity.
- High Frequencies (5 kHz – 10 kHz): For this, we would suggest adding brightness as it will give you a crisp and precise finish.
Use Compression
The next step is to use compression. This will ensure that the more complex parts of your Naat don’t overpower and the softer parts are well-heard.
For this, you should:
- Ensure a moderate ratio is set.
- Additionally, adjust the threshold only to compress the more complex parts.
- Use makeup to raise the overall volume.
Consider compression as the gentle hand that soothes out your Naat to ensure it is soulful and clear.
Add Reverb - But Gently
Reverb is essential, as it adds clarity and depth to your audio. However, when it comes to Naat, the story is different.
You want to ensure that it sounds natural and doesn't look like you're reciting in a cave. Here is what you need to do:
- Choose a small reverb plate setting
- Keep the dry mix low.
- Avoid long decay times to prevent your voice from echoing.
Normalise and Limit
Once your EQ, compression, and reverb are set, bring up the volume to normalise and set a limit. Then you need to apply a clipper to ensure that your audio is clear. Additionally, ensure that the Naat sounds professional on various platforms, such as YouTube and WhatsApp.
This final step will give your audio a professional and crisp look.
Export in the Right Format
Now you need to export your Naat in the right format. Here are two different options for you:
- WAV format (16-bit, 44.1 kHz). It is for achieving the best quality.
- MP3 (320 kbps). It is perfect if you are uploading to websites and social media.
Always keep your audio in archives for re-uploading.
Wrap Up!
This brings us to the end of the guide! Mastering your Naat audio is more than just adjusting the volume. Instead, it is about honoring the message of your recitation.
Additionally, with the right tools, attention to detail, and commitment, you can master your Naat like a pro. Whether you're recording in your home studio or have rented a space, your voice is a gift. With proper mastering, you can ensure that your voice is heard.


